The Compatibility Guide shows you the recommended interface for each iPhysio® Profile Designer.
Download the library from our website and install it
Download the library from our website and install it.
A tutorial is available to guide you through your first design. Watch the tutorial
Our technical support team is also on hand to help you: 01 76 46 11 71.
Create a restoration from a customized abutment.
Check that your 3D printer is correctly calibrated. To do this, print a 1 cm x 1 cm cube and measure it.
Don't hesitate to contact your installer to check that your installation is in order.
Be sure to include all anatomical information (height and shape) in the comments on the order form.
We also recommend that you take an HD photograph with your intraoral CT scan to ensure that the information is transmitted correctly.
The pre-milled parts sold by LYRA ETK are compatible with the S3DEL mounting fixtures integrated into the Work-NC workflow. They can therefore be machined in any machining center equipped with a compatible machining unit.
Buy the universal try-in abutment kit.
We offer 4 anatomical shapes. By observing the iphysio® Profile Designer from above, you'll be able to easily recognize and identify them. For more information, please visit our website.
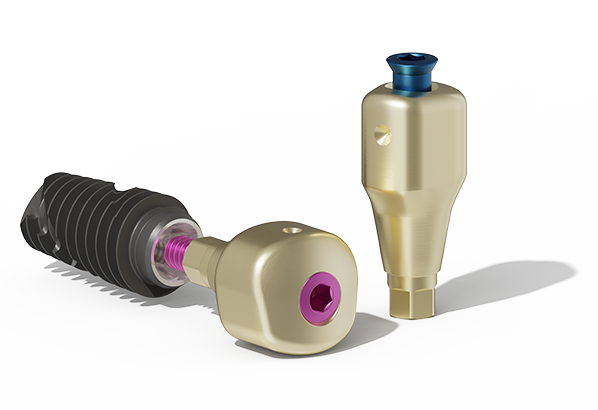
Each screw height corresponds to a color.
Yellow screw: Profile Designer iphysio® height 1
Pink screw: Profile Designer iphysio® height 2
Green screw: Profile Designer iphysio® height 3
Blue screw: Profile Designer iphysio® height 4
We offer 4 anatomical shapes. By looking at the iPhysio® Profile Designer from above, you can easily recognize and identify them. For more information, please visit our website.
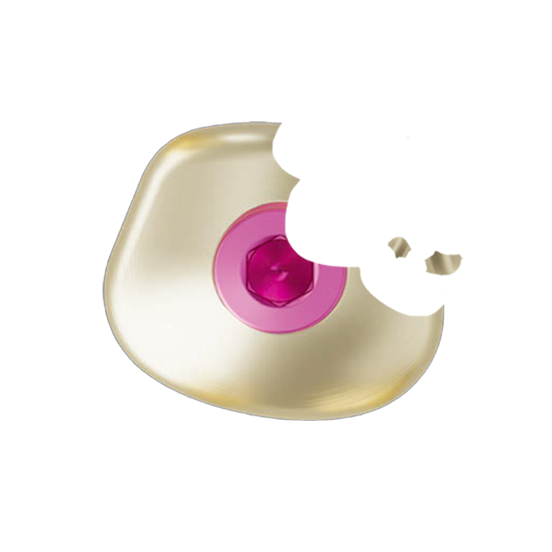
The height can be identified by the color of the screw.
Each screw height corresponds to a color.
If, however, the color cannot be identified, you can make a cut in the CAD software.
Finally, don't hesitate to ask the practitioner for the surgery sheet to remove any doubts.